

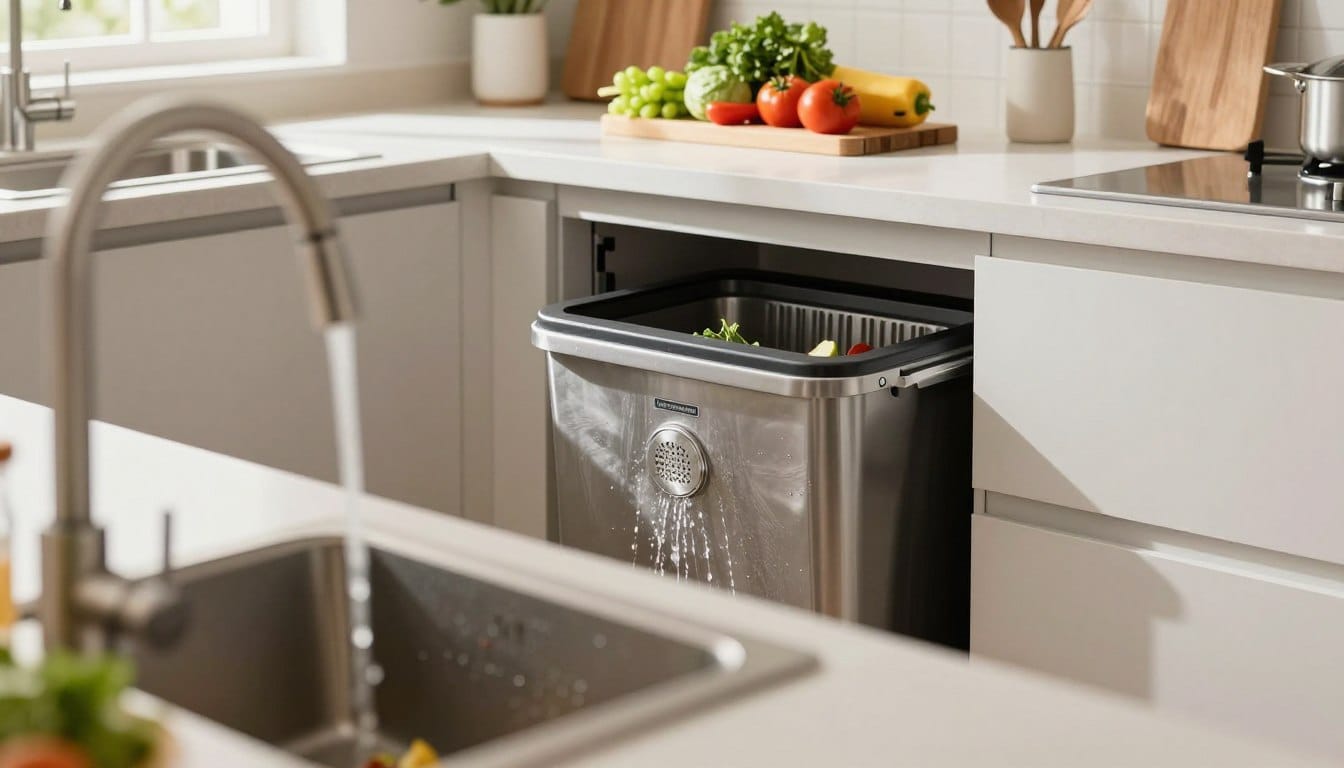
Surprising fact: many kitchen units last about 10–15 years, yet most replacements are completed in a single afternoon — typical DIY swaps take only 1–2 hours.
We’ll set clear expectations for what a garbage disposal installation actually involves so you can decide if it fits your comfort level and schedule.
We outline common reasons Vancouver homeowners replace a unit: humming that won’t start, loud grinding, frequent clogs and leaks, power problems or repeated resets. We list realistic time and budget ranges — most DIY jobs fall between $101 and $250 — and note when a like‑for‑like swap is straightforward versus when wiring or dishwasher tie‑ins make the job more complex.
Safety first: if you see persistent moisture, damaged wiring, or corrosion under the sink, calling a plumber can prevent repeat leaks and cabinet damage. We use plain terms — sink flange, mounting ring, discharge tube — so you follow every step confidently.
For a professional assessment that minimises downtime in North Vancouver or West Vancouver, call Lord Mechanical LTD at 6046703737.
Key Takeaways
- Most units last about 10–15 years; common signs of trouble include humming, loud grinding and leaks.
- Typical DIY swaps take 1–2 hours and often cost between $101 and $250.
- Like‑for‑like changes are simpler; first‑time fits can need extra wiring or plumbing work.
- Spotting moisture or damaged wiring early can save cabinet repair and repeat service calls.
- We offer a practical, safety‑first approach for North and West Vancouver homes and small businesses.
How to tell if a garbage disposal makes sense for your kitchen
Deciding whether a sink unit fits your home starts with matching its limits to your habits.
We’ll help you link everyday food and waste patterns to realistic machine performance. If you compost most scraps and only rinse plates, a compact unit is often enough.
What it can and can’t handle
Can: soft food scraps, small fruit peels, cooked rice in small amounts, and coffee grounds if rinsed well.
Can’t: fibrous peels, grease, bones, or large starchy loads that cause jams and frequent clogs.
Common signs the unit is failing
- Humming or metal-on-metal grinding sounds.
- Frequent clogging, leaks, power problems or repeated resets.
- Age-related wear — especially if your old disposal is 12+ years.
When to repair versus replace
Repeated fixes cost time and often add up. Upgrading to a new disposal gives better reliability and quieter operation in condos or townhomes where noise and shared plumbing matter.
Make sure to measure under-sink space and dishwasher hookups before you decide. For tailored advice in North or West Vancouver, call Lord Mechanical LTD at 6046703737.
What to expect before you start: time, cost, and difficulty
Before you lift a wrench, know the realistic time and cost so the job doesn’t surprise you.
Quick summary: a like-for-like swap usually takes 1–2 hours for a comfortable DIYer. Tight cabinets, corroded fittings or a mismatched drain height can add time and extra parts.
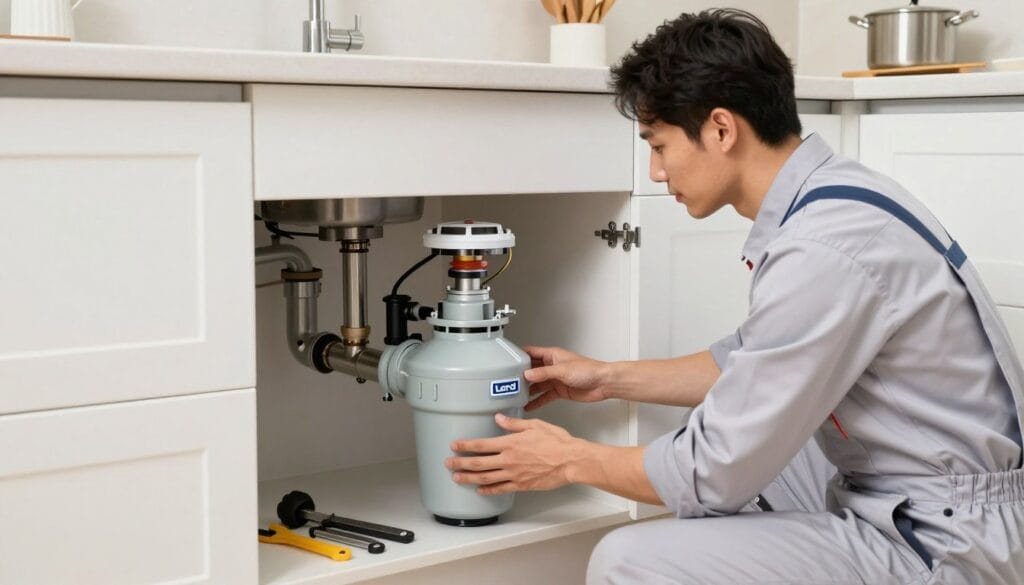
Typical DIY time and skill level
If you can loosen drain fittings and follow simple wiring steps, the task is beginner-friendly. If you are unsure around electrical work, stop and call a pro.
Budget ranges for parts and labour
A typical replacement runs about $101–$250. A 1/2 hp unit often costs $80–$150; a professional labour charge can reach $400 (unit not included).
| Option | Time | Typical cost | Skill level |
|---|---|---|---|
| DIY like‑for‑like | 1–2 hours | $101–$250 | Beginner–Intermediate |
| DIY with extra parts | 2–4 hours | $150–$300 | Intermediate |
| Pro service | 1–3 hours | ~$400 labour | Professional |
When to call a plumber: first-time fits, new outlet needs, or suspected hidden leaks. For reliable, tidy work in North and West Vancouver, call Lord Mechanical LTD at 6046703737.
Safety first: power, water, and workspace setup
Before you touch tools or wires, a clear shutdown routine keeps you safe and speeds the job.
We walk you through a simple, safe sequence. First, turn power off at the breaker or unplug the unit. Confirm the switch no longer energizes the unit before you touch any wire.
Prevent spills and control the water
Place a bucket under the P-trap and have rags ready. You usually do not need to shut off the whole water supply, but prevent faucet use while you work.
Grounding and electrical basics
Make sure the electrical line was grounded. Never ground an electric wire to a gas line. If you see exposed splices or missing strain relief, stop and call a pro.
| Step | Action | Why it matters |
|---|---|---|
| Shutdown | Turn power off at breaker or unplug | Prevents shocks when touching wire |
| Spill control | Bucket, towels, parts bin | Keeps cabinet dry and organised |
| Verify grounding | Confirm grounded line; no gas-line grounding | Avoids fire and safety code problems |
Clean, well-lit workspace and basic PPE make the work faster and safer. For electrical changes or permits, call Lord Mechanical LTD at 6046703737 for service in North and West Vancouver.
Tools and materials checklist for a smoother install
A tidy bench of tools and parts saves time and avoids mid‑job trips to the store. Lay everything out before you begin so you can work steadily under tight cabinets common in Vancouver homes.
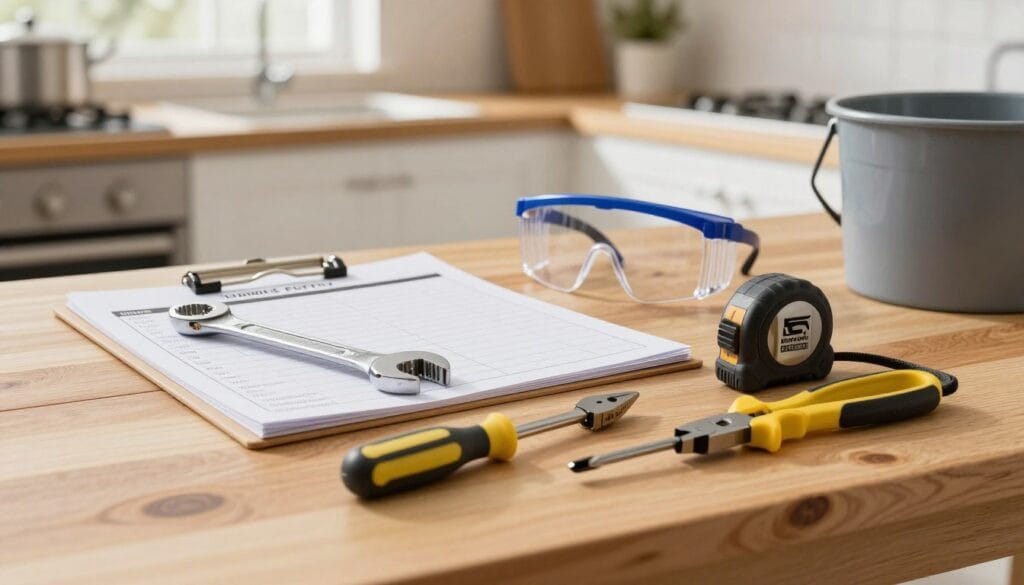
Must-have hand tools
- Channel‑lock pliers or pipe wrench — for slip nuts and P‑trap fittings.
- Screwdrivers (flat and Phillips) — for mounting screws and the electrical cover.
- Hex wrench and hammer — for jam clearing and light tapping.
- Hacksaw — only if you must trim a discharge pipe length.
Seals, fasteners and common materials
Keep a fresh roll of putty and plumber putty for the sink flange. Use silicone only where your manufacturer or sink material requires it.
Bring spare screws, mounting screws and a clean rag to wipe excess putty. A small parts kit with wire nuts, hose clamps and a strain relief fitting prevents last‑minute stops.
Parts decision guide
- Check the mounting ring and mounting assembly style so the new unit locks on securely.
- Decide plug‑in cord vs hardwire and confirm if a dishwasher inlet or drain pipe extension is needed.
- Keep an extra short length of pipe or an adapter for older slip‑joint drains.
Need help in North or West Vancouver? Call Lord Mechanical LTD at 6046703737 for advice or service.
Removing an old disposal and clearing the drain connections
Begin with a methodical plan: set a bucket under the work area, turn off power at the breaker, and lay out large channel‑lock pliers and a pipe wrench. We start where most problems hide — the slip nuts and P‑trap — so you don’t crack older fittings.
Disconnect the drain pipe and P‑trap
Loosen the slip nuts with channel‑lock pliers. Support the down pipe as you separate the P‑trap so the horizontal drain pipe doesn’t pull on the fittings. Expect a small spill; the bucket catches most water.
Detach the unit from the mounting ring
From under the sink, rotate or unclip the mounting assembly and hold the weight while you free the flange. If the old disposal is heavy, use a helper so the unit doesn’t drop and stress the sink drain.
Clean the flange and inspect for wear
Scrape away old plumber’s putty and wipe the sink opening clean so a new flange seats flat. Check for staining, mineral buildup or soft cabinet wood — these are signs of chronic leaks and worn gaskets.
“Replace corroded or warped flange parts rather than reusing them — a new seal prevents repeat leaks.”
If you find persistent moisture or damaged fittings, call Lord Mechanical LTD at 6046703737 for North and West Vancouver plumbing service.
Garbage disposal installation: mounting assembly, sink flange, and sealing
A correctly sealed sink flange is the foundation of any reliable mounting assembly.
Start by rolling a bead of plumber’s putty roughly 1/2-inch thick. Press the sink flange into the putty from above so it sits flat and centred.
From below, assemble the parts in order: fibre gasket, backup flange, mounting flange, mounting ring and snap ring. Hold the flange steady—rest the disposal with a towel on the sink to avoid scratches while you work.
Tighten the three mounting screws a little at a time and in rotation. Do this until the putty just oozes evenly, then wipe clean inside the sink. Gradual tightening prevents warping and slow leaks.
Hang the unit by engaging the mounting tabs with the collar ramps, then rotate until it clicks or locks. Leave slight play until you confirm discharge tube alignment and trap fit.
Watch for common faults: cross‑threaded screws, snap ring not fully seated, or a collar that hasn’t locked. Fix these before you run water or power to the unit.
| Step | What to check | Quick fix |
|---|---|---|
| Putty bead | Even 1/2″ rope, flange centred | Re-seat flange and reapply putty |
| Under‑sink stack | Correct order of gaskets and rings | Reassemble in order and hand‑tighten |
| Mounting screws & lock | Even torque; collar clicks | Alternate screws; re-seat snap ring |
For help with the final checks in North or West Vancouver, call Lord Mechanical LTD at 6046703737.
Wiring, dishwasher hookups, and discharge tube alignment
Verify the power source and hose routing first — this prevents leaks and backups later.
Step one: confirm whether your unit uses a plug or is hardwired. If it plugs in, use the under‑sink outlet after you finish plumbing. If it is hardwired, turn the breaker off and proceed with the electrical step carefully.
Plug‑in cord vs. hardwired: what to confirm before connecting power
For hardwired connections, fit a cable connector or strain relief so the wire cannot pull on the terminals. Match white-to-white (neutral), black-to-black (hot) and green-to-green (ground), secure with wire nuts, then replace the cover plate.
Knocking out the dishwasher plug and securing the hose connection
If the dishwasher drains through the unit, tap out the knockout plug and remove the plastic disc from the chamber. Slide the hose onto the inlet nipple and clamp it tight to prevent leaks and kinks.
Installing the discharge tube and adjusting length to meet the drain trap
Attach and clamp the discharge tube, then rotate the unit until the discharge meets the drain trap naturally. Trim the tube if it’s too long or use an adapter if it’s too short. Maintain a gentle slope and avoid forcing the pipe.
Final step: restore power at the breaker, run water and check every joint for drips. Turn the unit on briefly while water runs to confirm there are no leaks and the drain flows freely.
Need help in North or West Vancouver? Call Lord Mechanical LTD at 6046703737.
Conclusion
Let’s recap the critical steps that turn a tidy fit into long‑term reliability for your kitchen sink. We summarise the simple checks and tests you should run after any work.
Expect a like‑for‑like swap to take about 1–2 hours and often cost close to the unit price. A pro visit can run around $400 plus parts.
Final checks: test the sink flange, the tailpipe and dishwasher inlet, and the mounting assembly. Restore power at the breaker and run water while you listen for odd sounds and look for drips.
When in doubt—first‑time setups, wiring changes, persistent leaks or noisy operation—call Lord Mechanical LTD in North or West Vancouver at 6046703737 for fast, code‑aware service.